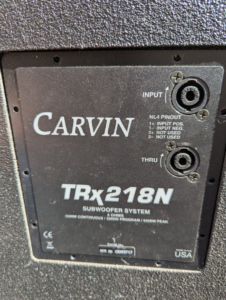
My son Elliot got some old Carvin speakers. A pair of TRx218N woofers and a pair of TRx153N for a complete 4 way system. The 218’s have no filters so the signal must be filtered before or after amplification.

The speakers in one of the TRx218N were busted : no resistance, while the unit is 4 ohms (two 8 ohms 18 inches speakers in parallel).
According to the website:
The TRx218N is our finest and lightest dual 18-inch subwoofer. The high power, lightweight Neodymium 18-inch woofers feature 4-inch voice coils. Not only does it provide thunderous bass, but the system weighs 22 lbs. less compared to similar ceramic systems.
The TRx218N is the ideal match to the TRx153N for a 4-way system. Stack two TRx115’s, TRx215’s, or TRx153’s side by side on a side stacked pair TRx218’s for 120 degrees of uninterrupted coverage at optimum head level placement.
System Type: Dual 18″ Subwoofer, Bass-Reflex
Speaker: Dual Heavy-Duty Neodymium 18″ Woofers
Dual 4″ voice coils
Power: 1600W Cont. / 3200W Program / 6400W Peak
Recommended Amp Power: 1200W – 2400W
Connections: Two Neutrik™ NL-4 Speakon
Dimensions: 23.5″ high x 40″ wide x 22.75″ deep
Weight: 49.5 kg
Those speakers are expensive. The coils are massive at 4 inch diameter. The neodynium magnet is supposed to be lighter and stronger that regular ferrite magnets.
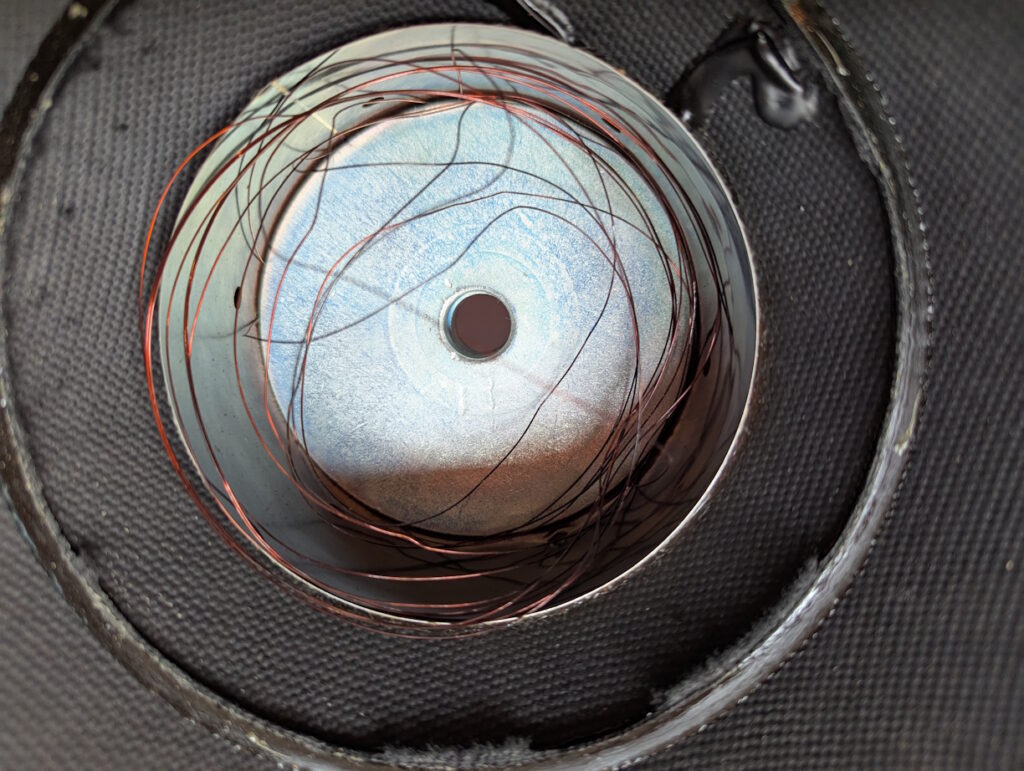
I removed the dust cap on one of the speakers and found some spaghettis!

I read a bit about how speakers work, using copilot and wikipedia.
After wondering whether to get replacement or repair them I found some reconing kits at https://reconingspeakers.com/products-page/carvin-ne18-8-18-aftermarket-recone-kit/
This company offers a reconing service or parts kits to recone your own speakers.
They offers printable instructions as well as videos to explain the whole process. It’s not difficult but one has to be patient and take their time to get goo
I checked with them to confirm the parts I was ordering were the correct ones, ordered it online and received it a few days later.
Reconing
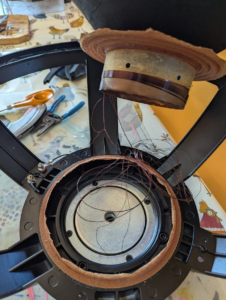
The cone and spider (the yellow accordeon disk that holds the coil at the base of the cone) were in good condition but as everything is glued, they recommended replacing everything. After cutting the old cone and spider, and desoldering the wires, I could remove the whole coil assembly and was left with the frame and magnet.

The second step is to put tape over where the coil goes around the magnet to keep the area clean: any debris left at the end would rub against the coil; remove all the old adhesive, clean inside the slit where some old coil may have fallen.
Then the new coil and spider can be glue. The part that I found the most confusing was to find the best position for the coil. It must be set not too high (or it could come off the magnet) and not too low (so it will not bottom out and touch the back of the speaker.) The Speaker Exchange provided some shims of varying thicknesses to put around the magnet while gluing to ensure that when everyting is done the coil can move up and down without touching the sides. The instructions call for adjusting the height looking at the outside of the coil but in my case the coil had windings both inside and outside up to the same height so I found it more practical to slide the spider (it was a tight fit) around the top of the coil and do some dry fit. In the general case, the coil but must set so there is about the same height below the coil than the height of the windings. In my case it was not possible, Gene from the Speaker excahnge explained an alternate way to get a appropriate height. When I was happy about the height of the coil in its resting position, i started gluing. The job requires different glues: contact cement to glue the frame to the spider and the cone, epoxy glue to glue the coil to the spider and cone; some pva glue is also used to glue the dust cover to the cone.

So i put a bead of contact cement on the frame then lowered the spider with the coil already in but not glued and turn it a bit to ensure a good bond. I made sure the wires aligned with the speaker terminals! I followed the instructions but typically contact cement is applied to both surfaces, left to dry then the part and put together and bond on contact; here the glue was applied only on the metal side (like I had learnt in school: put the glue on the side that is the least porous.)
After letting it dry, I dry fitted the cone. it needed a little trimming, maybe a couple mm so it would fit tightly around the top of the coil assembly. Once I was happy with the cone position, I checked again the height of the coil in the magnet (I needed the windings to extend 12 mm from the top plate) and glued the spider to the coil with epoxy glue. After letting it set, checked again the cone, applied contact cement to the top of the frame and put the cone in. The wires from the coil are inside coming out on the cone. I also glued the gasket on top of the edge of the cone so the speakere assembly can be attach ed to the case later. I put some blue masking take and put the speaker upside down over night. The next day I glued the inside of the cone to the coil with epoxy glue.


Almos there. I punctured the cone so the pigtails can penetrate through. Soldered them to the thin wires, solder them on the other side to the speaker terminals with enough slack so the speaker can move in and out but not so much that they could short. Applied a small amount of glue on the wire so it does not move.


Tests
Finally I could remove the shim and test.
I tested with Thievery Corporation Shadow of Ourselves. It had good bass and did not require too high volume to test (I was testing with a hifi Denon high fi amp that worked with 8 ohms) https://open.spotify.com/track/6Yf2RvEtvZbOsXsR4602qn
One of the speakers works fine but the second one was vibrating unpleasantly: the coil seemed to be out of alignment and to rub against one side.
We can see it here: the gap around the magnet is a little larger at the top.

After putting back the shim for a few hours and pulling on the cone on one side to try to get it more centered, the vibration has stopped but I am not sure how long the trick will last. I am considering applying heat with a reflow station, using solvent to reset the spider or cone to the frame (contact cement should come off in acetone, epoxy glue would be much harder to remove chemically but may soften with heat to be adjuste by a mm)
Update: Gene suggested shimming on the side that is too close and add more epoxy glue, He recommended using solvent as a last resort. He also recommended to check there were debris in the gap. As the base of the speaker is vented, stuff could have fallen inside (but also could fall out of it too). I will try with some compressed air.
Conclusion
This is a work in progress. I still need to figure out how to get rid of the vibration on one of the speakers reliably, put the dust cover, put the speakers in the enclosure, configure the low pass filters and test. We got a Carvin X-Drive and we still need to figure out how to use. As it’s rather ancient, it may need some convincing to be able to run the setup software on windows 10!
18 inch speakers are not cheap. This kind of power handling with neodynium magnets and large coils are not very common. Replacement from unknown sources are selling around $230 so reconing can make sense. The speaker exchange proved to be a great friendly source. They have been very helpful along the process to figure out how high to set the coil in this unusual driver. The experience was very refreshing compared to the usual Chinese sellers on ebay or Amazon who don’t care or are willing but unable to help due to the language barrier.